
eDiscovery
You want to extract email that is in several mailboxes for specific senders.
You need to enable the person who will be running the search and downing the results. Without this, you can create a case but cannot do anything. In the Compliance Center, this is under Permissions. You’ll see ‘Roles’ under Azure AD and the Compliance Center groups. The Azure AD group shows who is assigned roles. You can select any of the roles and see the associated users. You will need to go to Azure AD to assign roles. The link is at the bottom of each listing of roles.

The most important role to assign is the Global Administrator. If you are assigned the Global Administrator role, you cannot assign yourself to other roles such as Compliance data administrator. The compliance data administrator is the role you’ll want to assign to most users of eDiscovery. The assigned user can create queries and download the results.
The Compliance Center groups shows what the role can do. It lists the authorized capabilities. There is some latitude for customizing the capabilities.
You only need to setup the authorization settings once. With the access handled, you can proceed to eDiscovery Core to create your query.

What is displayed is a list of existing cases. If this is your organization’s first query, the list will be empty. Use Create a Case to provide the container for the query. When you create a case you will give it a name and description. The case will hold all queries related to the eDiscovery effort.
After the case is created. select the case name. From the tabs that appear, select ‘Searches’ to create the query.
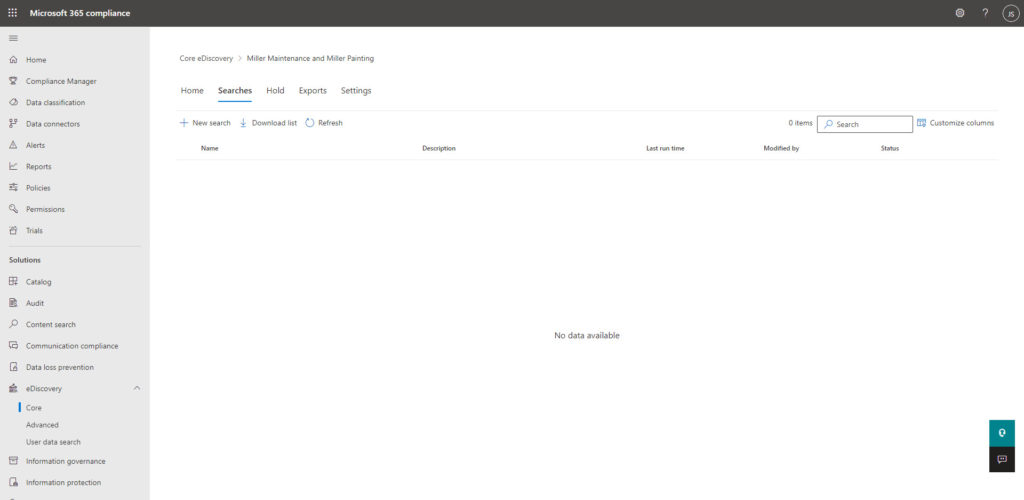
Selecting New Search will start a progressive dialogue (old-timers will know this as a Wizard). This builds out the query.
- Step 1: Provide a name and description for your query
- Step 2: Provide the Locations where the query will be conducted. Choices can be any combination of Exchange mailboxes, SharePoint sites and Exchange public folders. For the Exchange mailboxes, you can limit the users. The default is to include all mailboxes.
- Step 3: select the keywords. Keywords are much more than simply the text in the message. You can tag properties of the message like ‘Sender’, ‘Recipient’, and ‘Participants’. You can use Boolean operators such as OR and AND to string together multiple properties. Messages matching the properties will be what is returned. Microsoft Documentation: Keyword Queries
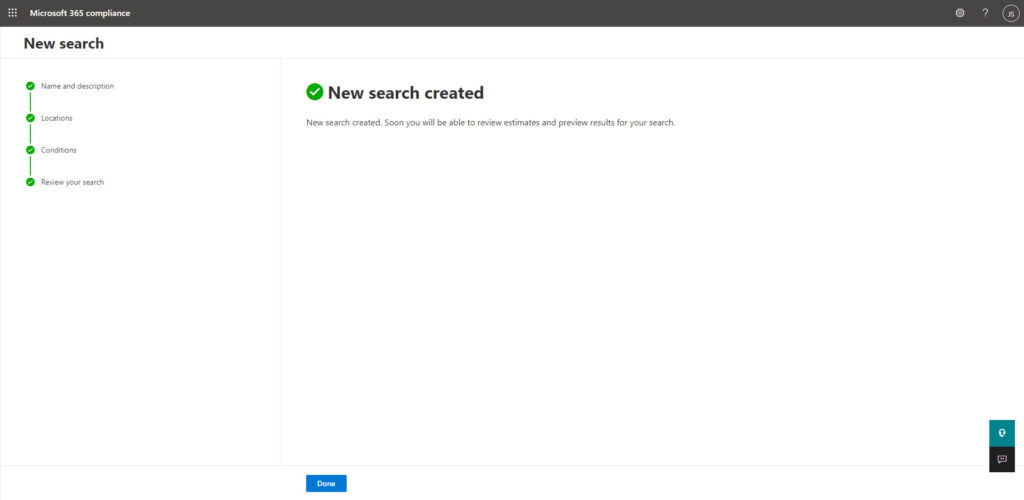
- Step 4: review the search. This summarizes everything added in prior steps. The Submit button is at the bottom of the search review. When submitted, you should see a progress message at the top followed by the confirmation that the search was created.

Limiting the mailboxes searched
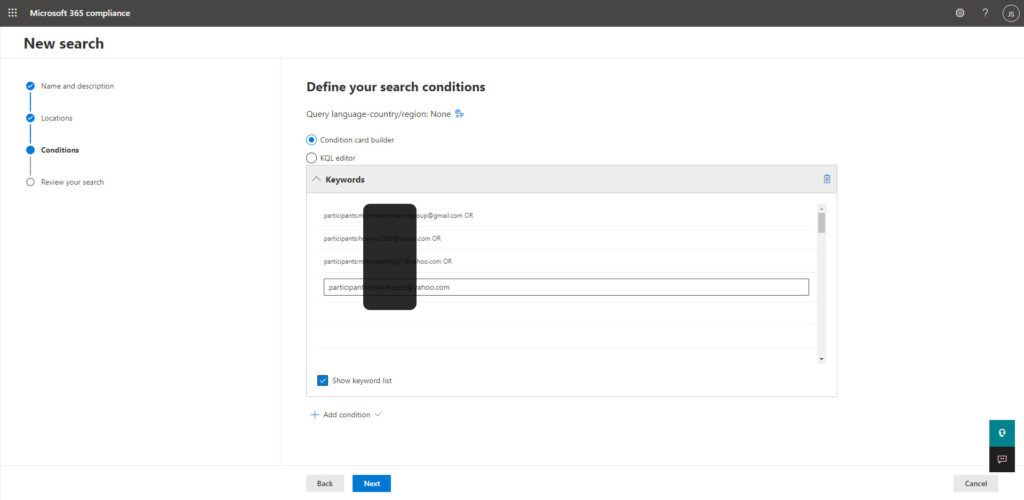
Sample Keyword Search on participants with Boolean AND operator
Search query confirmation
After submitting the search, you return to the Searches tab for the case. The processing status is on the right. When the status is Completed, you can select the Search. Selecting the Search will provide the search results summary and the results statistics.

The actions for the search job are at the bottom of the results summary. Selecting Export will enable PST creation. The PST contains the messages found in the search. As with the query creation, this is a submitted job.
When the extract job is completed, the PST (or PSTs, depending on the selected export option) will be available on the Exports to the right of the Searches tab. The job name will be the same as the query. You may have to check frequently until the export is created. Unlike the Searches tab, the Exports tab does not have a Status column. To view the status, you must select the job.

To download the completed results, you must use the Export key included with the job. Use the Copy to Clipboard to select the URL. The URL does not require any authorization. Anyone with the URL can download the results.
To perform the download, you must:
- Install the Client Discovery Unified Export tool. You receive this from the export job results page by selecting ‘Download results’ at the top of the page.
- Use Microsoft Edge. One simplification is to at least temporarily make Edge your default browser. Do this if you downloaded Client Discovery Unified Export tool in another browser. Alternatively, if you complete your search in Edge, you can run download the application in Edge and select to open the application when the download is done.
- Enable ClickOnce support. Here’s the Microsoft documentation.
When you Open the Download in Edge, it will setup the Client Discovery Unified Export tool You will paste the URL from the Job Results page into the Key field. You then specify where the results are to be received. You’ll have the results file and numerous reports describing the search results downloaded.
What remains is to connect the resulting PST file to the Outlook client where you want to review the results. Here’s a summary of how to connect a PST to Outlook.
Links
Microsoft Documentation: Core eDiscovery
Microsoft Documentation: Core eDiscovery Search